Showing posts with label easy. Show all posts

Monday, January 20, 2014

How to Make a Kitchen Towel

This weekend my good {and very creative and talented} friend and I had planned a fun little sewing class for ladies in our church and community. It was our first of {hopefully} many and everyone seemed to really enjoy it! I know I did. Who doesn't love a girls' morning out with no kids?? It was much fun! Kylee did most of the planning for it and the purchasing of supplies and pretty much all of the leg work and ended up not getting to come thanks to a virus going around. It was a bummer, but hopefully that's behind us and we can start planning our next event!

We wanted to start out with something easy and basic so it was Kylee's idea to make a kitchen towel. It turned out to be a great project! Very practical and so enjoyable to make.
Our mission is to show people that sewing is really not as hard and intimidating as it seems. Anyone can do it and it's such a rewarding hobby, not to mention a life skill!
We had the fabric already cut so that each person could just come in and get started. I made one the other day so I could take it as an example. Here's how we made them...

Cut your muslin to the desired size. It should be a nice rectangular shape. You can use a kitchen towel you already own as a guide to measure and cut your fabric.
Next, you want to finish all four edges by turning the edge under 1/4 inch. Iron. Then, turn it down another 1/4 inch. Iron again. Finally, sew around the edges.


Now, for the fun part! Embellishing. As you can see from the above pictures, the sky is the limit when it comes to embellishing. I made mine with an applique. You can learn how to make an applique here.

This turned out to be so fun! I am already looking forward to our next event!
post signature

Friday, January 10, 2014

Lined Handkerchief Skirt {+ Matching Appliqued Shirt}

This skirt is probably one of the easiest skirts to make for your daughter. It is just like making this elastic waist skirt, but there's no hemming and this one is lined. The only seams you're sewing are side seams and around the waist and it's surprisingly simple! You can make an entire outfit for less than $10. Handmade. Monogrammed. It's never been easier. Are you ready to try it?

For this skirt, I bought 4 handkerchiefs from Hobby Lobby @ .99 cents/each. Two printed handkerchiefs and two white ones for the lining. There are many possibilities with handkerchiefs. I made this for my 5 1/2 year old daughter, but could probably still make skirts out of handkerchiefs for my very tall 8 year old and petite 10 year old. You only need at most 2 inches for folding over the top edge for the waist and there's no hemming so that leaves a good bit of fabric for the length. If the length is a problem, you could always add cute trim to the bottom.

Now that you've got the handkerchiefs, measure how long you'll need the skirt to be from waist to length. I leave the width as is. Elastic takes care of the width, so don't worry about cutting it down unless you're making this for a baby or young toddler. Check out this chart for more info on sizing and measurements.
Once you have your waist to hem measurement, mark and cut your handkerchief length, if necessary. This will be the only cut edge of the entire skirt. Do the same thing for the lining handkerchiefs. I kept mine the same length as the patterned handkerchiefs, but you can make the lining an inch or so shorter if you wish. {You could also do the lining piece longer than the patterned ones, for a layered look.}
Now, take your patterned pieces and lay them right sides together. Lining up the sides as best you can. Make sure the cut edges are lined up.
Pin the sides right sides together.

Sew each side seam. 5/8" is the standard seam allowance.

Repeat with the lining pieces.

Now, put the lining inside the patterned pieces as if it were finished. Note: the lining piece should have seams facing outward toward the patterned pieces' seams. This allows the inside of the lining that touches the body to be smooth. Basically, the lining appears insideout.
Once you have both the skirt and lining together, flip them together insideout so that the lining is now on the outside and the skirt in inside. Now, fold both rough edges (waist) over an 1.5 inches. Pin the rough edge to hold it in place.
Now, sew around the rough edge to make a seam. You will sew all the way around and leave about 3 inches unsewn so that you can thread the elastic through the waistband.

Once elastic is threaded through, sew the ends of the elastic together and then sew the 3 inch opening closed.
Flip the skirt right side out and you're done!
 
Make a matching shirt by using one of these methods for making an applique: I used my Silhouette Portrait to cut out my A with the heat n bond on the back. All I had to do was iron it onto my shirt and sew around the applique for reinforcement. You can still make this without a Silhouette - print out a letter in any font you like with your printer, cut it out and pin or trace it to your choice of fabric. Iron your fabric to Heat n Bond following package instructions. Cut out the fabric and then iron it to your shirt. Stitch around the edge to reinforce it.

Make it even more personal by embroidering the name next to the letter or by adding embellishments, etc. I added the name just to give it a little extra pizzazz! I love how it turned out and so does my sweet girly girl. {Pic of the finished product coming soon!}

Thanks for stopping by today! Hope you'll try this easy skirt and if you do, please come back and tell me how it went!
post signature

Wednesday, December 18, 2013

The Easy Way to Make a Gingerbread House

Last week my daughter's teacher called to ask me if I could put together all the gingerbread houses for her kindergarten class. The kindergarten classes at our school always do gingerbread houses at Christmas and it's so much fun for them. So, when I picked Annie up on Friday, she was loaded down with supplies!

Yesterday, I sat down to make 26 houses for the class so that today they could just enjoy decorating them. And I thought the process was genius! No one really eats the gingerbread house when it's dried up, do they? So, the teacher's idea was perfect. I thought you might like to try it sometime whether in your own home or in a classroom setting. This way is the perfect way to build your house without it crashing down on you.
Take a pint size milk carton - or on a larger scale, you could use an almond milk carton and cut the bottom piece down to the size you desire and make sure it's empty and rinsed.
Fire up the hot glue gun! Get it nice and hot then glue down the bottom of the carton to a paper plate (or whatever base you want to use).
Next, use graham crackers to cover your house. You can use them whole, break them into squares or rectangles. Glue them onto your house so that all flat sides are covered.
Then, use store bought icing such as Pillsbury Classic White or even better - the frosting in the can that you can squirt onto the house! This worked like a charm with the kindergarten class! The kids used large popsicle sticks to spread their icing all around the sides and roof.
Finally, decorate with all the usual colorful candies - gumdrops (my favorite on a gingerbread house), M&Ms, Red Hots, Candy Canes, Gingerbread Men Cookies, etc. etc.
It was so much fun! And tomorrow, the Kindergarten will have a "Tour of Homes" and go around to each Kindergarten class and look at all the colorful creations they made today. It's a big deal, you know.

Does your family make a gingerbread house each year? We have only done it once. It was an ordeal. But this way is much easier and less stressful. Still messy, but it won't fall down.

Merry Christmas!
post signature

Monday, November 18, 2013

DIY Christmas Countdown Advent Pillow {Tutorial}


This is my favorite Christmas countdown item in the house! We have an advent calendar type thing we got from Target a long time ago. It's wooden with little doors to put treats in for each day as we count down to Christmas, but ever since I saw this pillow my sister made a couple years ago, it's been my favorite!
I made one a couple years ago as a gift for someone but never did get around to making my own. I finally made mine this year and can't wait to use it! It's already on my couch, but the wreath will just have to be stuck on "1" for a couple more weeks.

Each day, you just tie the wreath to the new date. My girls are excited to use this! Wish I hadn't waited so long to make one for myself. I love it!

You can find my sister's detailed tutorial here. I did not add ribbon between the rows, but I did add red cording around the edge of mine. I have a lot of neutral going on in my living room, especially on my couch so my pillow needed an extra pop of color to frame it out and help it stand out.

Do you have an advent calendar? Why not make an advent calendar pillow, too?

Like this post? Will you please share it with your friends on your social media? You can also follow me on Facebook, Google+, Pinterest and Twitter. Click the social media icon of your choice in the right sidebar.

I'm sharing this with some of these friends. Thank you for stopping by!
post signature

Thursday, November 14, 2013

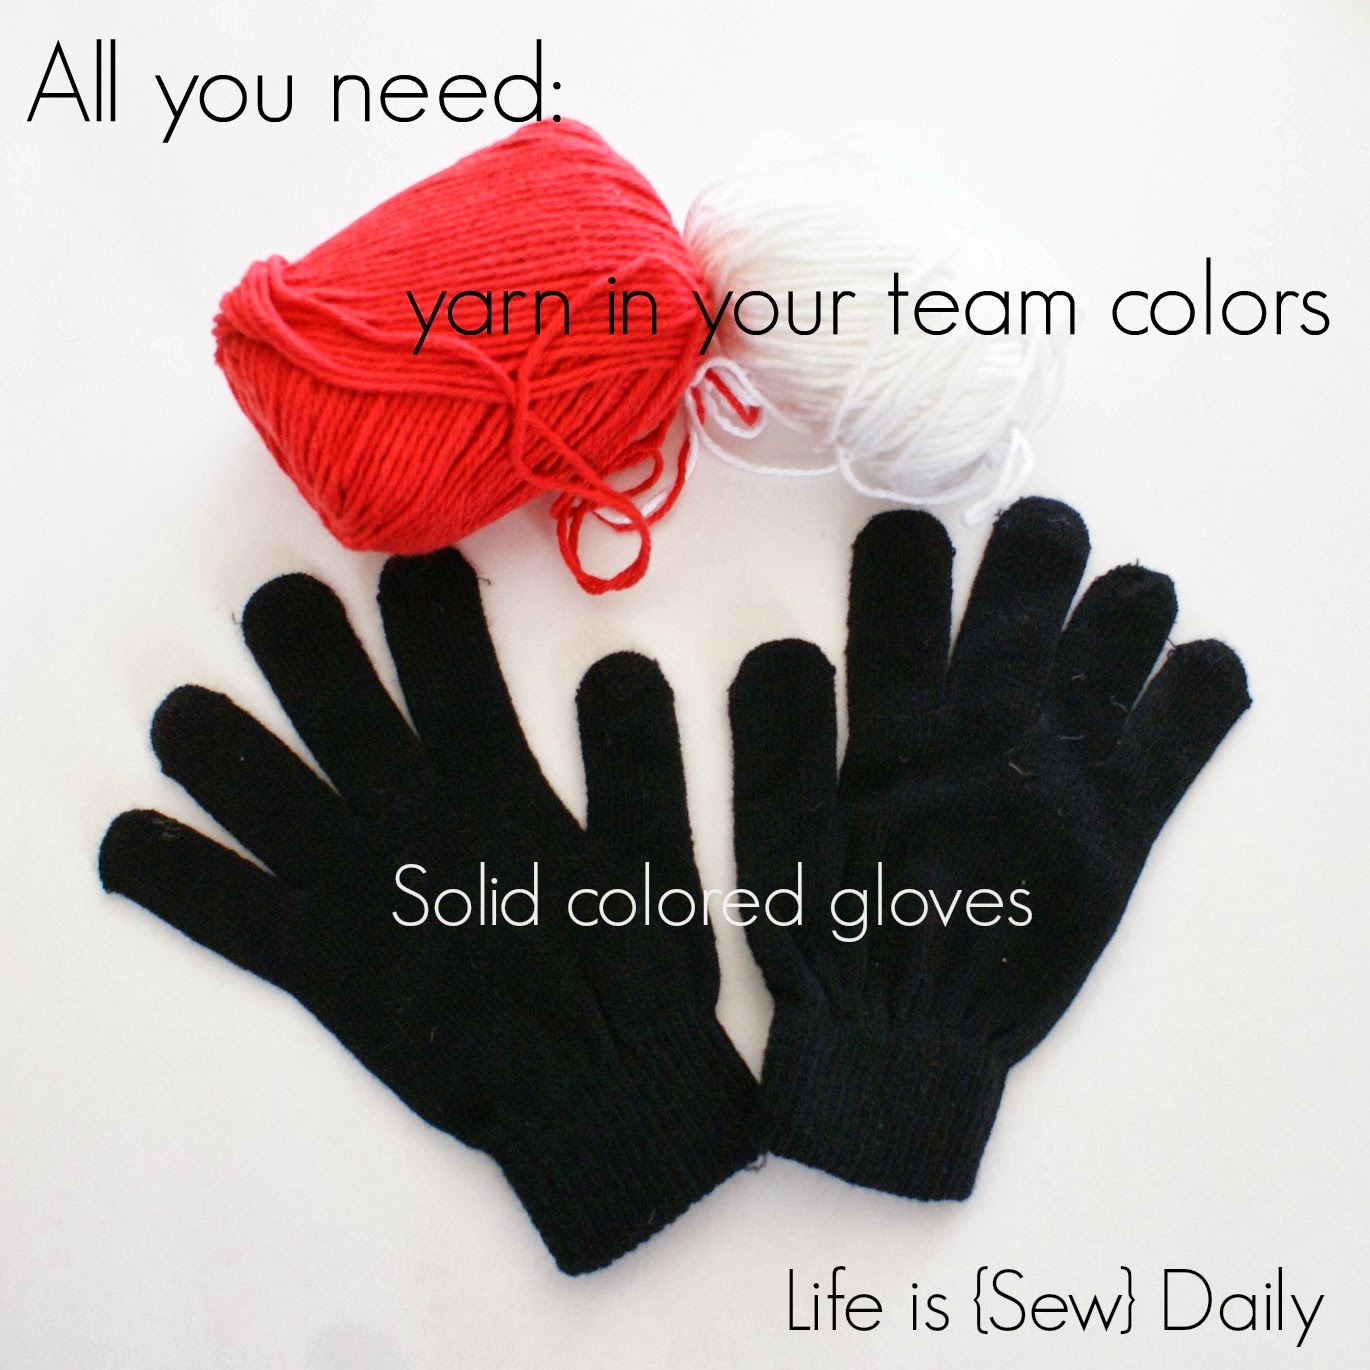
Team Spirit Pom Pom Gloves {Tutorial}

We've got spirit, yes, we do! We've got spirit, how 'bout you?? Show your team spirit with these adorable DIY pom pom gloves! Perfect for all those cold weather games. Keep your hands warm and cheer for your team at the same time. I love these and they are super easy and cheap to make! You can pick up a pair of solid color gloves for $1 at several places. Yarn is also cheap and it doesn't take much of it to make these cute gloves. Here's how!


You're ready to cheer on the team! These would make a great gift or stocking stuffer for the cheerleader or spectator on your list! So easy to make, inexpensive and very cute! Make them in a variety of colors for your favorite sports teams.

What are your favorite team colors?

Like this post? Will you please share it with your friends on your social media? You can also follow me on Facebook, Google+, Pinterest and Twitter. Click the social media icon of your choice in the right sidebar.

I'm sharing this with some of these friends. Thank you so much for stopping by!
post signature

Thursday, October 10, 2013

Sewing Tutorials for Beginners

If you've been following along the past few days, you've read a lot about sewing with patterns and WITHOUT patterns. Now, it's time for some easy tutorials for beginners. I've been sewing a long time now and still enjoy easy projects. Not all sewing has to be difficult or take hours and hours in order to be done well. That's what this blog is all about. Are you ready to try some fun projects??
This Bowtie Tutorial is one of my most popular posts and probably the easiest sewing project ever. Try it! You'll have fun with this one!
This is about as simple as it gets with an Elastic Waist Skirt. You could make these all day long. They're easy and can be made in a lot of different colors, styles and lengths. Try it! Or go to this post to see a list of tutorials I found for making other elastic waist skirts.
This 15 Minute Table Runner is fun and easy! Straight lines only. You can make yourself a table runner for every occasion on the cheap!
Make a Pillow Cover with a velcro closure to change out with the seasons in just a few easy steps! You can personalize it however you want and the tutorial shows you how to use freezer paper to make a stencil, as well. The sky's the limit with this.

You can also find hundreds of tutorials on Pinterest or Google. Just type in what you're looking for or 'sewing tutorial' and you'll be overwhelmed with options!

This is part of my 31 Days of Home Economics series. You can find the whole series at the tab above labeled {Home Economics}.

Like this post? Will you please share it with your friends on your social media? You can also follow me on Facebook, Google+, Pinterest and Twitter. Click the social media icon of your choice in the right sidebar.

Thanks for stopping by! I'm sharing this with some of these friends.
post signature

Tuesday, July 9, 2013

Individual Blackberry Cobblers {Dairy-Free Recipe}

As I mentioned in this post, we picked wild blackberries this past weekend. My girls have never had any kind of cobbler and because I had more berries than we would ever be able to eat before they went bad, I decided to make a cobbler. My second child cannot eat dairy because of a severe food allergy, so I substituted the milk for almond milk and the butter for Smart Balance Light. It turned out perfect!

I decided to try individual cobblers using a muffin tin instead of making one big pan and I believe I like this way much better. It isn't as mushy and seems to be just the perfect consistency. Absolutely delicious!

Here's how...
{slightly adapted from The Pioneer Woman's recipe.}
 Wash about 2 cups blackberries.
Mix 1 cup self-rising flour + 1 cup sugar + 1 cup almond milk + 1 stick Smart Balance Light, melted. Grease muffin tin. Fill each tin 1/2 full with batter. Drop 5 blackberries into each tin. Bake @ 350 until brown and bubbly.
 

Sharing this with some of these friends.

Thanks for stopping by!